Saturday, August 31, 2013

Simple Pleasures | Catching Up

I was recently back in LA, my old stomping grounds, for a friend's wedding.  It was different from the normal trip I make out there - where I either have my parents pick me up from the airport and spend my days with them, or I drive from Colorado to LA so that I will have a car to be able to see all the many people I want/need to see.  This trip was solely to hang out with some of the most important ladies in my life.  Most of the girls who will stand next to me on the "big day."  It was really an awesome 2 1/2 days that doesn't get to happen as much as it should!

I didn't get any pictures with the lovely bride that weekend, but you can trust she was stunning and threw one hell of a party :)

Here are some highlights from the weekend.

Thursday, August 15, 2013

Inspired | Lavender Lemon Scones


Yet another trip to the local farmer's market resulted in a TON of great stuff.  Denny came this time, so we obviously couldn't just buy ONE thing.  We had to buy several things: farm fresh eggs, steak burgers (so good), cucumber relish, heirloom tomatoes, homemade beef jerky, lemon orzo, Puff's "boozy" beer & chamomile jam (LOVE this company - we also have the strawberry champagne mint & raspberry whiskey chipotle), and lastly, lavender infused sugar.


When we bought the sugar from the Indigo Blooms Botanicals booth (who sold primarily herbal home and body care products), the woman asked what I was going to do with it.  I said, "I'm not sure yet, but I am always looking for new ingredients for new recipes for my blog".  She was excited to hear about the blog and told me that I would have to let her know what I made with it.  Turns out that she just had extra lavender and was looking for new ways to use it, so infused it with sugar.

That day, I started brainstorming what to do with the lavender sugar, just like I did with the rosemary sourdough bread the weekend before.  Stumbling on a recipe for lavender scones sealed the deal.  I know this is ridiculous, but I try to stay away from recipes that involve working with cold butter because I don't have a large food processor or KitchenAid miracle worker (FYI, birthdays and weddings are coming up - just saying!).  So, cold butter scares me and therefore I don't do a lot of baking...I've bent many a fork trying to knead the stuff into a stubborn cookie dough.  But I went for it anyway because this recipe said you could knead the butter in with your hands.  I have hands.  I can do this.

Next problem:  the recipe called for dried lavender buds.  Where was I going to get those??  It seemed like such a "stuck up" thing to have in a recipe.  It made me almost want to not make them, and all I could think of was the episode of F.R.I.E.N.D.S where Ross smashes a scone, yelling "Stupid British snack!"  But, a Google search told me I could get them at any health food store.  I consider the Sprouts we go to be "healthy" so I went there for our groceries, in the hopes of finding lavender.  When I couldn't find it myself, I asked around "Nope, don't have it here".  Ugh, I was NOT going to go to another store.  If grocery stores were peaceful, quiet meccas of amazing food, I would love grocery shopping.  But they aren't.  They are crowded, noisy, warehouses full of aimlessly wandering shopping carts that you usually have to dodge, lest they run you over in the frozen food aisle.

I was bummed.  I thought lavender scones weren't happening.  But then, while shopping in the bulk food section, I saw a shelf of bulk spices and herbs and alas lavender buds!!!  Can I just say, I l-o-v-e the bulk foods section.  Even before it magically brought me lavender.  Nuts, rice, granola galore - and so CHEAP!  I remember when I worked at Whole Foods and people would fill the entire check out counter with bags of bulk foods and I thought they were crazy hippies...until I saw their bill compared to other people's.  Then I thought they were geniuses who knew of a loop hole in the (sometimes) ridiculously expensive health food industry.  I filled a small ziploc baggie with the lavender and it cost me something like $.23.  No joke.  So, when in doubt, check out the bulk spices if your store has them.  I guarantee even the "normal" easy-to-find spices will be much more affordable this way.

After all that, I realized I forgot the buttermilk....after I got home.  Dammit.  I guess a second trip to the store was always my destiny.

Here are the stupid (yet delicious) British scones.  I think they turned out pretty well.  The recipe called for too much sugar to use the lavender infused sugar in the baking (as you can see, I just had a little jar), so I sprinkled it on the top.  Also, if you don't like lemon this might not be for you - I tasted more lemon than lavender at times.  This pairs nicely with a cup of tea, sweetened of course with the lavender sugar :)  Enjoy.


Ingredients
cups all-purpose flour plus more for surface
3/4 cup granulated sugar
tbsp baking powder
tsp dried lavender buds
    1 tsp kosher salt
    1/2 teaspoon baking soda
    3/4 cup (1 1/2 sticks) chilled unsalted butter, cut into 1/4-inch cubes
    1 cup plus 2 tbsp buttermilk
    2 tsp finely grated lemon zest (I might use less next time)
    1 tsp vanilla extract
    2 tbsp sanding or granulated sugar infused with lavender

    [Dried lavender buds (culinary lavender) are available at some supermarkets and natural foods stores.]

    Preparation
    Arrange racks in upper and lower thirds of oven; preheat to 425°. Line 2 baking sheets with parchment paper. Whisk 3 cups flour and next 5 ingredients in a large bowl. Add butter; rub in with your fingers until mixture resembles coarse meal.
    Whisk 1 cup buttermilk, zest, and vanilla in a small bowl. Add wet ingredients to dry ingredients. Stir until shaggy dough forms.
    Transfer to a lightly floured surface; knead until dough forms, about 5 turns. Pat into a 10x6" rectangle. Halve dough lengthwise. Cut each half crosswise into 4 squares. Cut each square diagonally in half into 2 triangles. Divide between baking sheets. Brush with 2 Tbsp. buttermilk. Sprinkle with sanding sugar.
    Bake until scones are golden and a tester inserted into the center comes out clean, 13–15 minutes. Transfer to wire racks; let cool.
    Serve warm or at room temperature.  I don't know, maybe put some boozy jam on it :)  I really liked honey and butter on it

Adapted from this recipe.  Lemon curd isn't really my thang, but maybe it's yours!


Monday, August 12, 2013

Frozen Breakfast Burritos


I think I told you way back here that there is indeed a solution to boring weekday breakfasts.  Frozen breakfast burritos are the answer, and they are addicting!  This is something that I have done for the past couple of years and they have saved the day on more than one occasion, including getting home from a late night out and wanting to eat everything in sight!

I like to make them on the smaller side so that you don't start your day off feeling too stuffed.  That is the responsible, healthy side of me talking because otherwise I would have a Chipotle sized breakfast burrito every.single.day.  Apparently it's not okay to do that, so I stick to the smaller ones :)  I make anywhere from 20-24 at a time.


2 packages of 10" whole wheat flour tortillas (smaller burrito tortillas).
2 packages of frozen o'brien potatoes or hash browns.
1/2 diced yellow or red onion (needed if the potatoes don't already have onion in it)
1 diced green or red bell pepper (needed if the potatoes don't already have pepper in it)
10-12 eggs
1 large jar of green chile (I like the 505 hot chile)
1 package of shredded cheddar cheese with taco seasoning (2 cups)
1 can of diced green chiles
Seasoned pepper & garlic salt to taste
2 tbsp olive oil
1tbsp butter
3 tbsp water
Foil

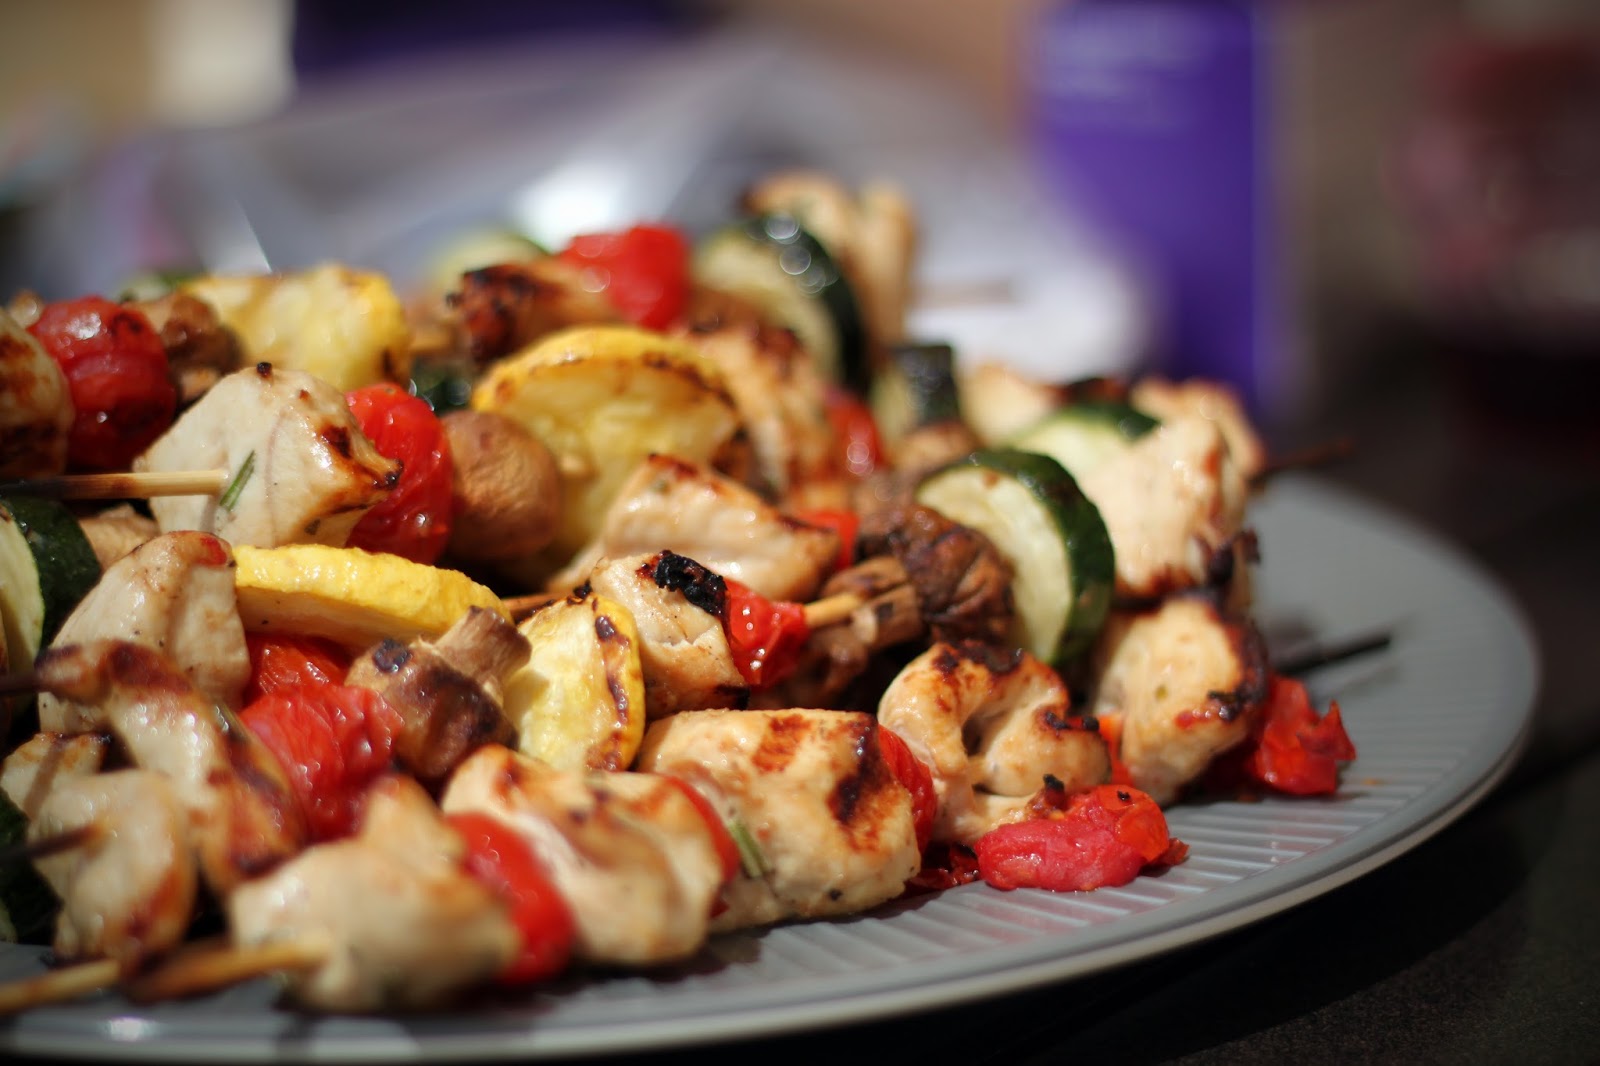
You don't need me to tell you that you could also add meat to these (mmm bacon). I'm sure you already figured that out!

In a large non-stick frying pan, heat oil over medium heat.  Add frozen potatoes and onion.  Season to taste with seasoned pepper and garlic salt.  Cook until potatoes are thoroughly cooked and almost approaching "dry", stirring frequently.  Set aside.  (The key to these burritos is to have as little liquid as possible.  For this reason, green chile is chosen instead of a tomatoey salsa that will release water when re-heated, making a soggy burrito).

While the potatoes are cooking, tear 20-24 sheets of foil into 12" sheets (one for each burrito).  Set aside.

In a separate pan, melt butter over medium-low heat.  Whisk eggs together, adding water, continue whisking until incorporated (this is optional, I like adding water because it makes the eggs more light and fluffy).  Add eggs, canned green chiles and salt & pepper to the pan.  Scramble until done.  Set aside.

Set up all of your ingredients in a burrito-making "station" and start assembling.  Before you start, it sometimes helps to wrap the tortillas in a paper towel and heat in the microwave for about 1 minute to keep them from tearing.


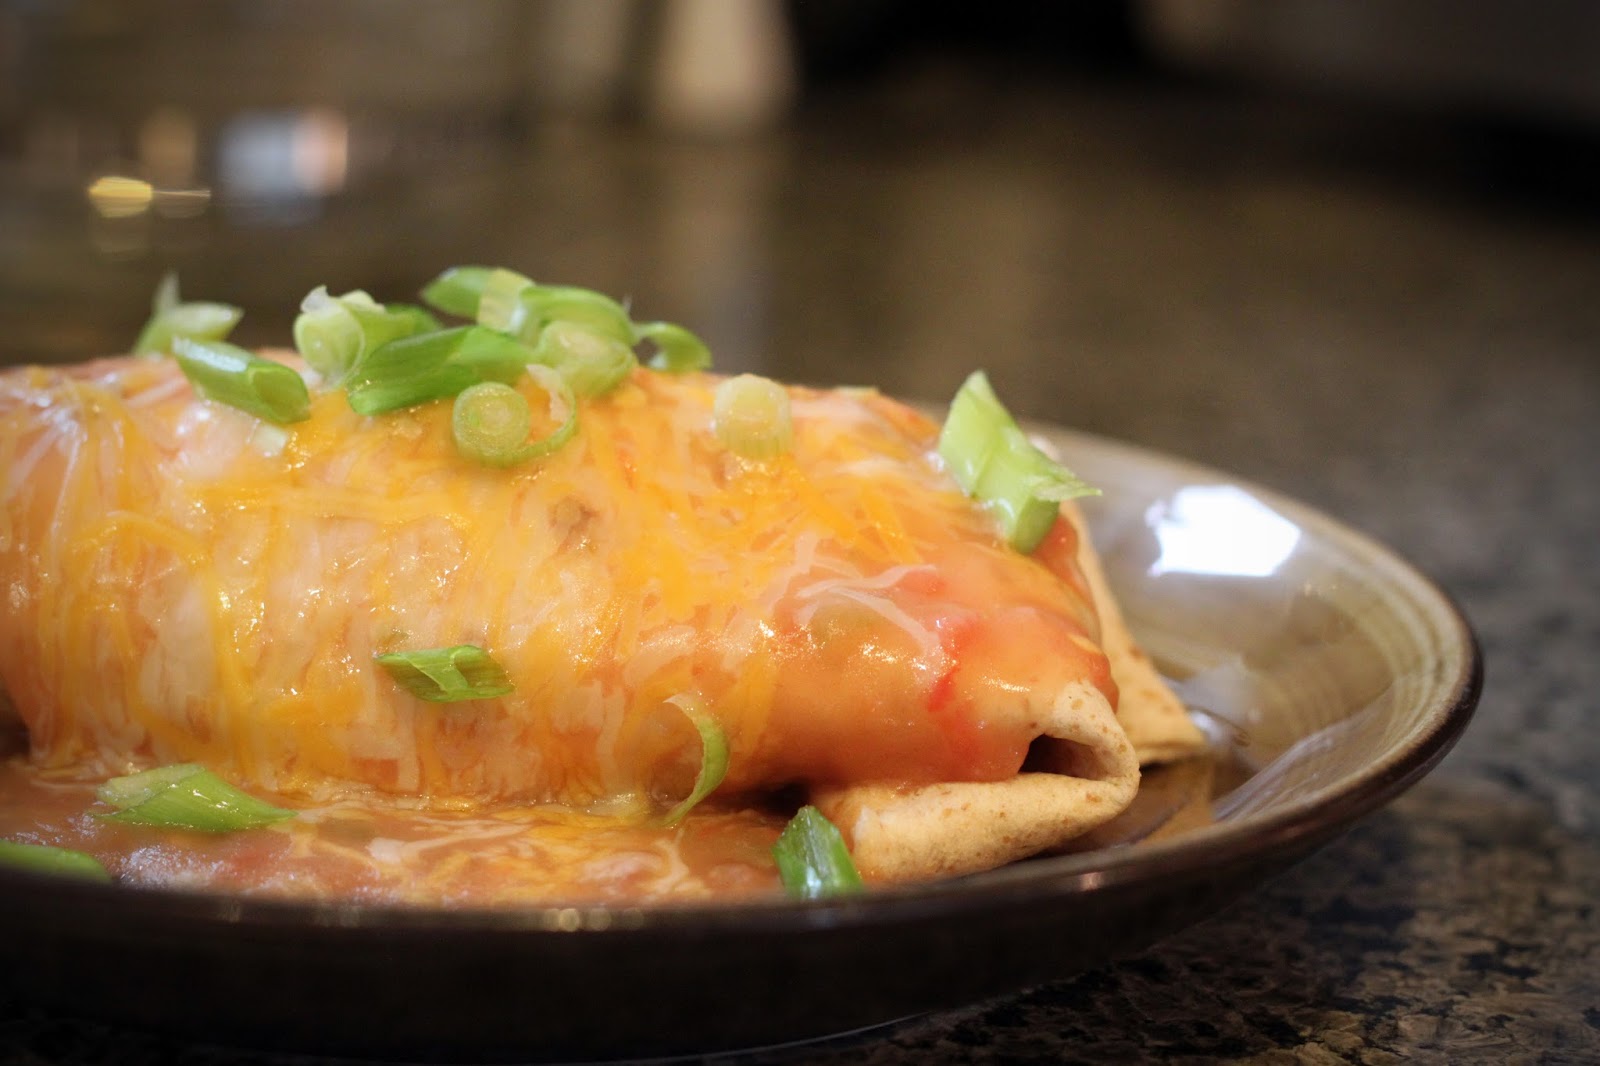
Place a tortilla on a sheet of foil, add a scoop of eggs, equal amounts of potatoes, a sprinkle of cheese, about 1 tbsp of green chile and wrap the tortilla, folding in both sides.  Wrap the burrito in foil and stick in the freezer.


When you are ready to eat, remove foil and pop in the microwave for about 2 minutes!

Monday, August 5, 2013

Getting Serious For a Moment

I love writing this blog, it is a creative outlet that I never thought would be "up my alley", but it has proven to be the perfect hobby.  Food, graphic design, photography, writing, all in one - how can I not love it?!  I spend a majority of my free time admiring other food blogs and am constantly thinking of how I can improve this one.  I dream of the day when hundreds of people are reading and commenting on every post and I LOVE it when I am out with friends and they mention how much they enjoy reading the blog.  It's nice to know I am not talking to myself!

But...sometimes I put a lot of pressure on myself to be better, or I tell myself that I am not doing enough...which may or may not be true.  I know there is a lot of room for improvement, but still I get frustrated when I am running out of daylight and my photos are not turning out the way I want.  I get antsy trying to figure out how to format everything.  And, tinkering with all the ways that this thing is connected with social media gets my head spinning.

But then I ran into this post.  And felt all warm and fuzzy inside.  Here's why:
1. For very personal reasons, I love the name of this blog :)  And I think this couple is cute.
2. It shows the down and dirty of food photography.  Although this post does a great job of emphasizing that good photos can be achieved without some of the pricey equipment normally used, I sure see a lot of equipment on there there I don't have!  I have one camera, 3 lenses, and no other equipment (most of it bought for me as a gift - thank you Aunt Deb!!).  Maybe I should go easy on myself and be proud of the photos that I produce.
3. It gave me insight as to how to actually do some of the things I want to do.  My frustration with some blogs is that they just show the pretty end result and make it seem like these beautiful images just happen.
4. It gave me confidence in what I am doing.  Sometimes I feel silly propping up food (with all of the blinds open for good light), waving to my neighbors as they walk by.  And I think to myself, "They probably think I am crazy...maybe I am crazy?"  But, if you look at the behind the scenes shots in this blog, some of them look funny and staged, and the whole room is a mess.  But the end result is so cool and worth it :)

In the end, this IS fun and the more I do it, the better it will become.  And getting better is just an added bonus.  I hope you all enjoy it in the meantime, because I do!  And in the future I will try to post some of the out-takes that show the imperfections.